
If you’re new to RV ownership or thinking about getting an RV, you’ll want a step-by-step process for setting up your new camper at the campground. These RV tips will walk you through the process so that you can feel confident taking your RV anywhere you want to go. Learn more about how to set up your RV at the campground below.

1. Use a Local Campground First
It’s a good idea to find a local campground for your first setup to get familiar with the process. Another great reason to choose somewhere close is that your local dealer will be just a phone call away if you notice any problems with your new RV upon setup. This allows you to have the freedom to attempt set up yourself with the security of knowing that an expert is available to help with any issues.
2. Research Your Campsite
Hand-picking your first campsite by researching the sites available at your campground ensures you’ll have the ideal conditions for your initial setup. I recommend finding a level site with next minimal surrounding trees and little to no slope on the drive or a pull-through site. All of these tips help to eliminate complications and make it easy to park your RV for setup.
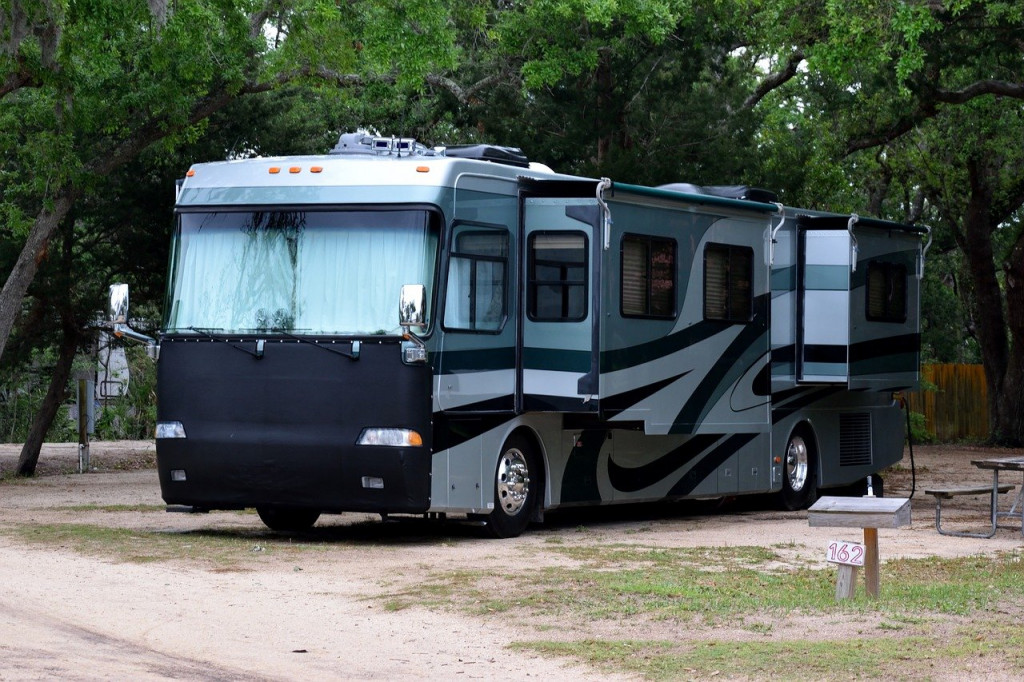
3. Park the RV
This step seems straightforward, but it can be one of the most stressful stages of setting up your RV. Ensure you have a person there to help guide you into the campsite and always check your camper’s position with the trees or landscaping features before parking. You’ll need to make sure all of your slide-outs will be clear of obstructions and that you’re close enough to all the hookups. Additionally, you may want to measure out your awning space to ensure you’ll be able to open it fully in your campsite. If you are towing a toy hauler, you’ll need to ensure that you have plenty of space to open the ramp door and unload your outdoor gear, as well.
Once you’ve found the best positioning, be sure to put the parking brake on your towing vehicle or motorhome and place high-quality chocks on either side of every wheel. RVs are incredibly heavy, so you want to take every precaution against them rolling.
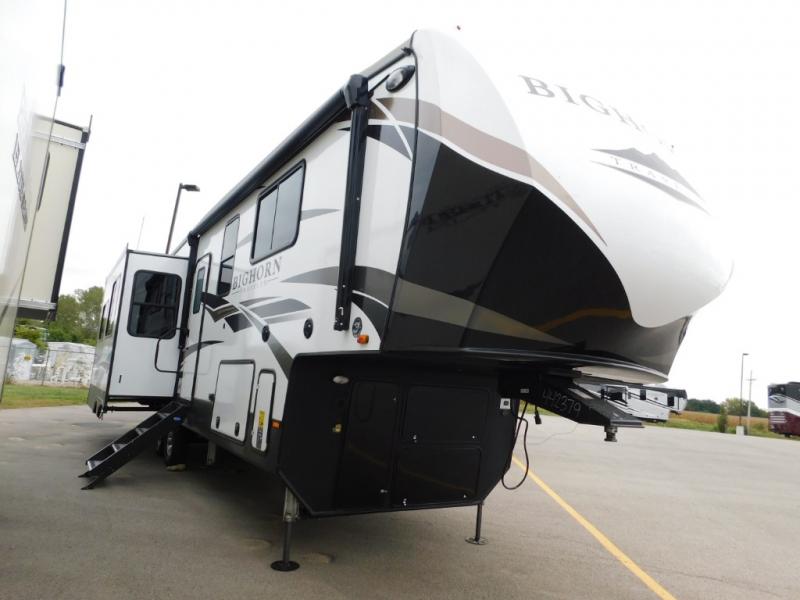
4. Unhitch the RV (Skip for Motorhomes)
To unhitch your RV, you’ll want to make sure all your chocking blocks are in place and secure before you begin. Then, for a travel trailer, place an RV jack pad under the hitch jack and lower the jack to the ground. Next, unchain the hitch from your truck and disconnect the light connection before raising the trailer off the hitch with the jack. After you’ve lifted the trailer, move your towing vehicle out of the way. For fifth wheels, lower your jacks to the ground and secure them. Then disconnect your breakaway cables and seven-way cable and lift the fifth wheel hitch off the truck lower with the auto-leveling system until you can easily remove the large pin and secure it. Then, pull your vehicle out of the way, and you’re ready to start leveling.
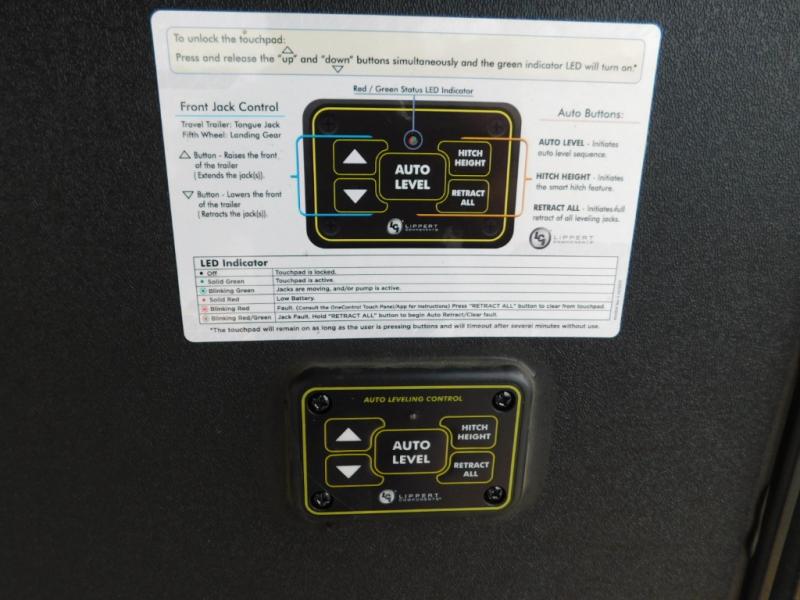
5. Level the RV
This step is crucial to making your stay in your RV comfortable and easy on your RV. Most moderns towables and motorhomes come with self-leveling systems or leveling jacks, but that doesn’t mean you won’t have to make some manual adjustments now and then. The self-leveling systems will handle most of the work for you by adjusting the jacks until the RV is stabilized. You can help the process by leveling the ground under the jacks to the best of your ability before starting the process. Move any large rocks, fills holes, and set up some high-quality leveling pads to go under each jack.
If you are manually leveling your RV, you’ll want to do so very carefully. The key to remember is that the jacks are not meant to be weight-bearing; they are there for additional support and stability. Using the level built into your RV and the manual controls, you can adjust until everything is sitting well. If you have an auto-leveling system, start the process and let it do its work.
6. Setting Up Supports
If you have an RV with slide-outs, invest in some slide-out support jacks to help reduce the wear and tear on the mechanics. These jacks are installed under each slide’s I-beams — typically, you will have two per slide — and provide additional support for the slide-out while it is open for an extended period. For fifth wheels, you can also buy a front fifth wheel hitch support that can increase stability, as well as jack stabilizers that reduce potential swaying while you move around inside the RV.
7. Hook Ups
The next thing you’ll want to do is get your water, black tank, and electricity hooked up. Be sure you checked beforehand about your RV’s amp requirements and invest in a surge protector to use between the electric hookup and your cable. This can protect your RV from damage during a storm or power surge. It’s also a good idea to cover your electric hookup with plastic or a bucket to protect it from the elements, although this is not always necessary.
Then, hook up your freshwater hose by connecting one end to your RV fresh water hookup and the other to a water pressure regulator. If the city water has a pressure of over 40 PSI, attaching it directly to your RV’s plumbing system can cause leaks as the water is forces through faster than the system was built to handle. Additionally, you should also attach a water filter to the city water’s hookup because even if you are diligent about your hookup hoses’ cleanliness, the campers before you might not have been. It’s better to be safe than sorry when it comes to getting fresh, clean water in your RV.
Lastly, you’ll need to set up your gray, and black tank drains by connecting the black tank hose to your RV’s output and running it to the black tank hookup on your site. You’ll want to get leveling blocks for your black tank hose to ensure it drains properly and waste does not get stuck in the tube and create a bad smell.

There you have it! You’re all set to start customizing your campsite to your needs now that your RV is properly set up. To find an RV that’s perfect for your future adventures, shop the thousands of new RVs for sale on RVingPlanet.com.